Cuba Charlie
by Ken Collins - January 30, 2013

A quick an easy fly pattern that was developed in the late 70’s by Bob Nauheim while fishing the flats of Andros Island in to the Bahamas. Its simple dressings and most of the time minimally weighted eyes are some of its key reasons for success.  It is definitely one of the must have fly patterns for any travelling salt water angler. There have been countless slightly modified versions of this fly over the years, including this Cuba Charlie. I fished the Crazy Charlie patterns faithfully for many years and almost all varieties and colours caught fish.

 I did however as I focused my last ten years of salt water angling to the flats of Cuba discovered certain colours worked better than others... and most importantly white wings scared away more fish than I was prepared to accept. Thus the grey wing was added. This dulled down wing has been a very important fish producing conclusion of my time spent wading salt water flats. 
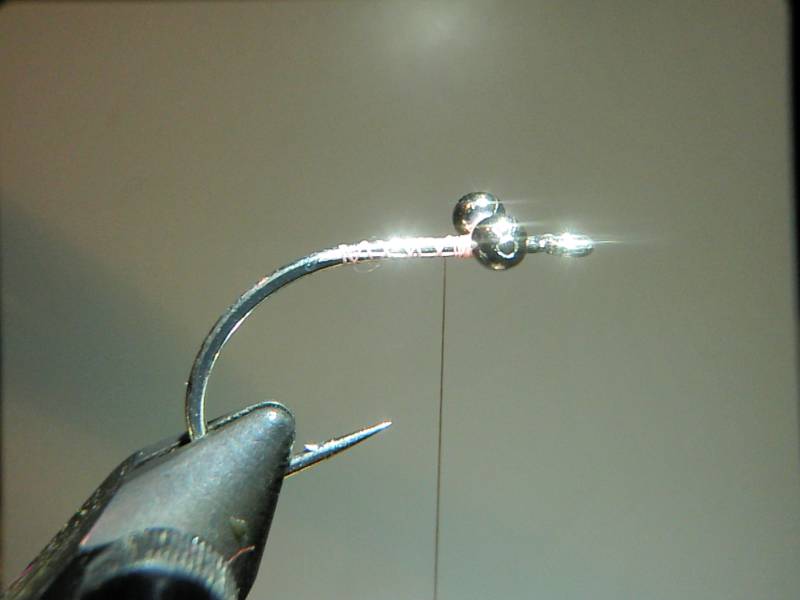
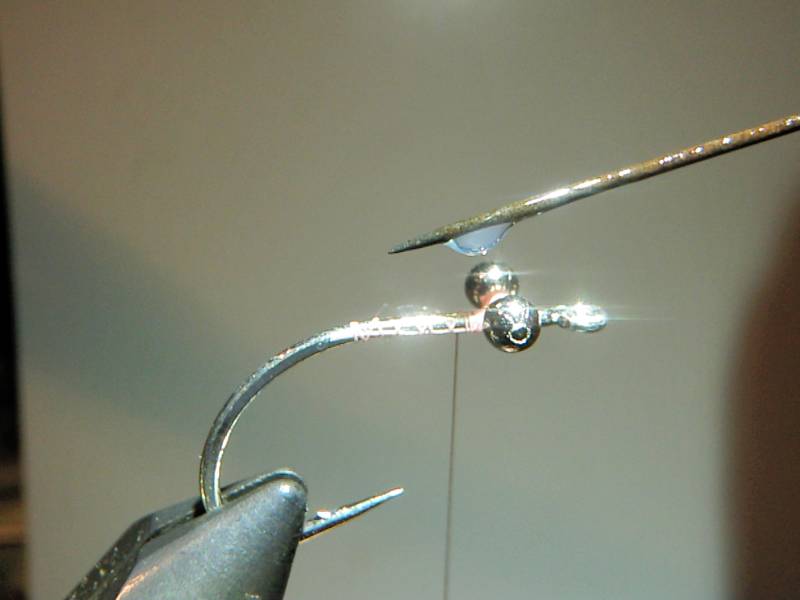
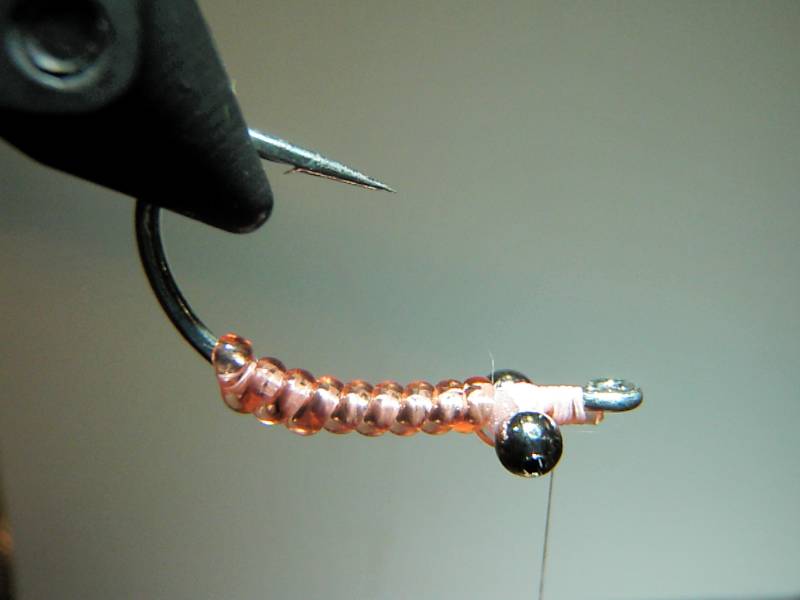
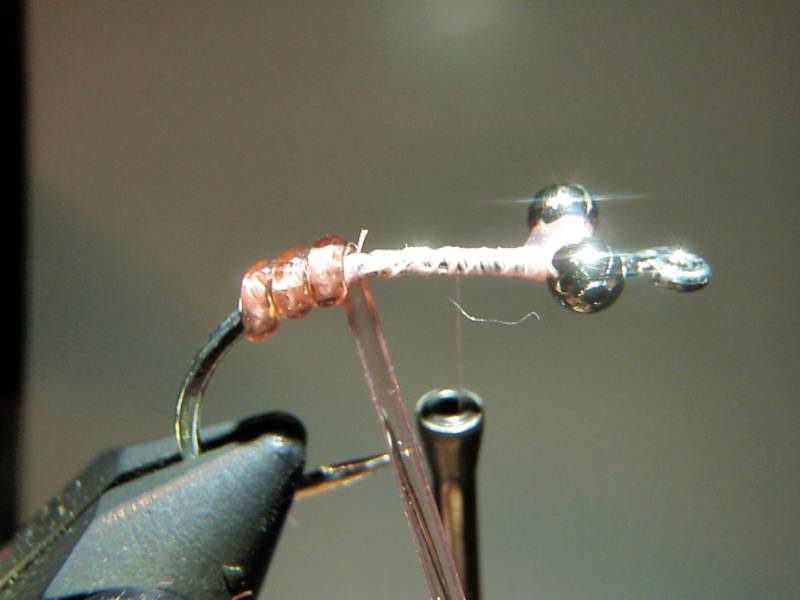
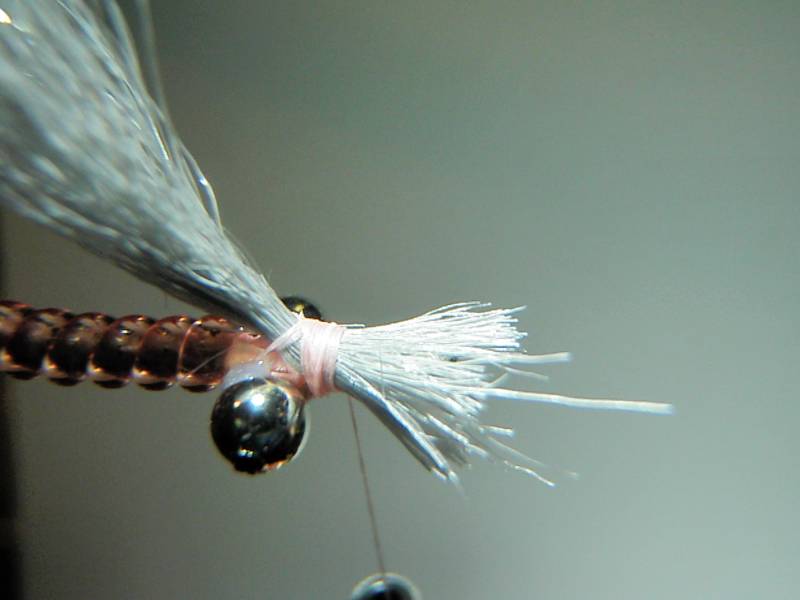
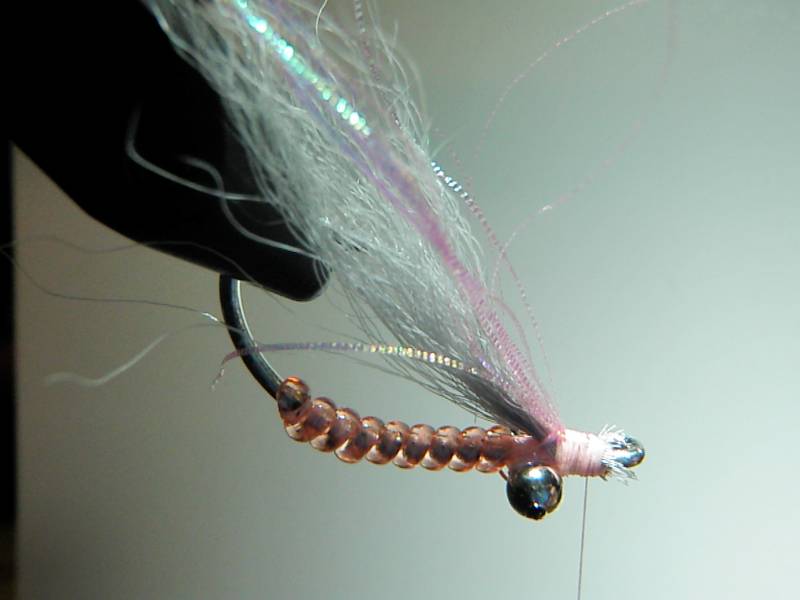
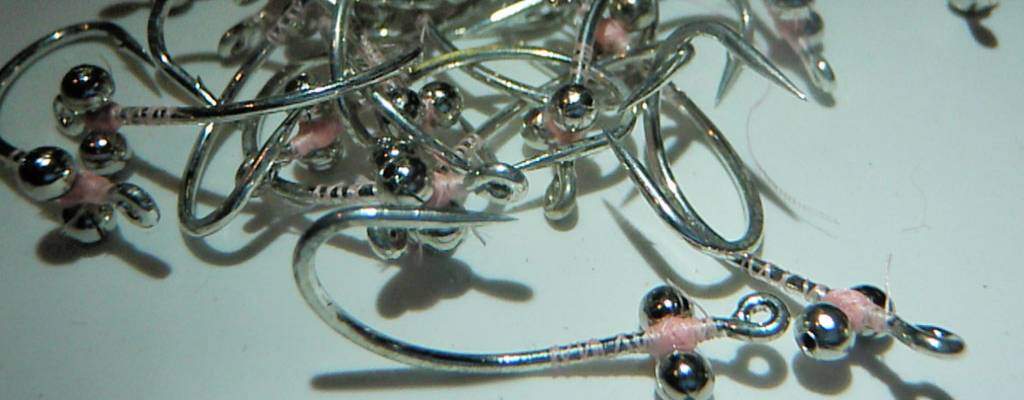
Cuba Charlie Steps

Tying on and Fixing Eyes
Tie onto hook with thread. Wrap entire straight part of hook shank with wraps of thread. Fasten bead chain eyes 2 bobbin nozzles back from hook eye. (Do not crowd the eye of the hook)

Gluing Eyes and thread
To make this fly LAST more than one fish and ensure your eyes do not rotate. Take a moment to apply head cement on tying intersection of eyes to hook and give the thread on hook shank a quick coat.

Angle Trimming V rib
Here is the trick to keeping a smooth no bump under body finish.

Tying On V rib
Wrap thread to bend of hook and slightly down the bend. Make sure when you tie angle trimmed v rib tip to hook that you have its flat facing down to hook shank. Fasten this tip well with tight thread wraps and add a drop of head cement. Now - wrap thread to front of hook (by the eye of the hook).

Re Positioning Fly
If using rotary vise - rotate fly as Picture shows. Non rotary vise tyers take hook out of vise and refasten like picture shows.

Wrapping V rib body
Wrap tight consecutive segments of v rib right to bead chain eyes. Your last wrap goes through middle of eyes and gets tied down with thread, trimmed off and a dab of head cement.

Tying in Calf tail wing
Cut a decent clump of hairs from calf tail bone. Make them as long as possible. It makes for easier trimming. Tie them with tips facing up over hook point. Do not make them too long. They should just go past hook point. Keep holding the tips and get ready to do the next step. (Locking hitch)

Tying Locking Hitch
To hold these hairs in perfect place and make them a bit more rigid for hook point coverage (slight weed guard). This wrap of thread around stem of hairs is key. Add head cement and continue to wrap thread a few more times while hold the clump in position. Trim of hair butt ends ( make sure eye of the hook can be seen)

Tying Wing Accent
Take two full length strands of Gliss n glow. Fold them in half and trim them into 4 strands. Find middle of these four strands and tie this down right in front of calf tail wing. Fold all strands back to match slope of calf tail hairs and wrap thread to secure. Make nice smooth conical head. Whip finish, trim off thread and head cement head well.

< Back to Instructions

Other Fly-Tying

Full Motion Shrimp
Ken Collins - January 26, 2019

Crystal Schminnow
Ken Collins - April 09, 2017

Tying Knots - The Click
Ken Collins - May 14, 2016