Byford Zonker Inverted
by Ken - January 03, 2015

Through all my teaching and tying seminars it was plain to see that Dan Byford's early 1970 fly pattern Byford Zonker to be one of the easiest flies to tie but actually by most tyers one of the hardest to tie well. There is so many ways to tie this torpedo shaped minnow under body but to tie it easily and consistently is the trick.

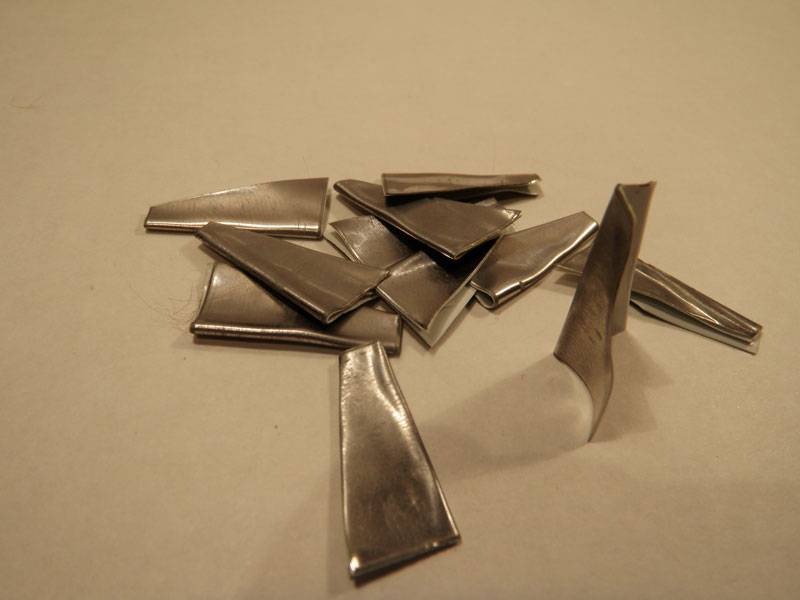
Our favourite method of making this perfect underbody is using Zonker adhesive tape. This tape also acts as a perfect keel and we soon discovered that tying this pattern inverted on hook shank made it even ride nicer in the water. The hook gape increased which made for better hook up to land ratios. Another advantage of tying this fly inverted was the reduced hooking on bottom and of course the subsequent loss of flies. Even the red thread in this pattern is there for a reason. The back acts a target (or also named a  tag on a wet fly) and the front is meant to resemble the gills of the minnow.

All fly boxes should have a basic assortment of this pattern.  You won’t find too many flies that will catch carp as well as trophy brown trout. Even in the salt water this fly produces bonefish, jacks, snook and other salt species without too much effort. Try it in lakes for pike, bass or walleye and you won’t get disappointed here either.  I have even caught steelhead on numerous occasions with this pattern. So get tying and give them a try.

Byford Zonker Inverted Steps

Cutting lead wedges
Fold tape over and trim on angle to make folded triangles. Repeat till you have at least 6 to 12 pcs cut.

Fasten lead tape
Remove protective waxy cover skin from adhesive tape. Place lead crease of folded tape on bottom of hook shank and pull edges of tape upwards till they affix to each other. NOTE: Do not crowd the eye of hook - 2 eye of hook widths back minimally. Now trim shape of lead under body as shown. Repeat steps for all under bodies and now go wash your hands.

Mylar tube body
Cut proper length of mylar tubing (length of body plus 2 quarter inch for each end).Tie thread onto hook at bend behind the lead under body. Slide mylar tubing body over lead under body and wiggle it till it extends quarter inch past hook bend. Tie down with numerous wraps. Make whip finish or half hitch this small thread tie down section. Trim thread.

Mylar tube front end
By pulling gently on sides of mylar tubing shape it to lead under body. Tie on thread again at the front of hook and make this mylar body tight to under body. Take butt ends of mylar and message them so they separate then tie them backwards over main mylar body. clean up thread head and make whip finish.

Head Cement
A drop of head cement on both thread sections will increase this flies lifespan a hundred fold.

Trim Eye Sockets
Trim away any folded mylar stands on both sides of body.

Glue Eyes to Body
Using Household goop or Zap Gap Goo place small dab of glue to adhesive side of eye and gently place on side of hook. Repeat for other side.

Fastening Rabbit Strip
Take hook right out of tying vise and poke it through leather side of rabbit strip about one inch back of end of strip. NOTE: Remember you better have thread whip finished or it is going to unravel.

Tying Down Front End
Pull rabbit strip forward snugly making sure it pulls totally around hook bend and lays tightly on top of back end of mylar body tie down area. Trim of excess strip and build tapered thread head.

Final Whip Finish
Finish the fly with a proper set of knots or whip finish. Now apply coat of head cement to thread head. Let dry.

Trim Triangle on Rabbit Strip
To make sure this pattern behaves proper in the water it is highly recommended to cut the tail end of rabbit strip in a triangle fashion. Try not to cut any rabbit hairs as you do these cuts.This tail should never exceed one inch in length.

< Back to Instructions

Streamers Fly-Tying

Tying Tight Solid Hourglass eyes
Ken Collins - January 15, 2009

Crafty Minnow
Steve May - January 12, 2009

Redneck Rabbit - Olive
Steve May - March 15, 2003